Wednesday, October 16, 2013

Delivering Christmas

I posted yesterday that I would finish the Christmas subway art today and I have!

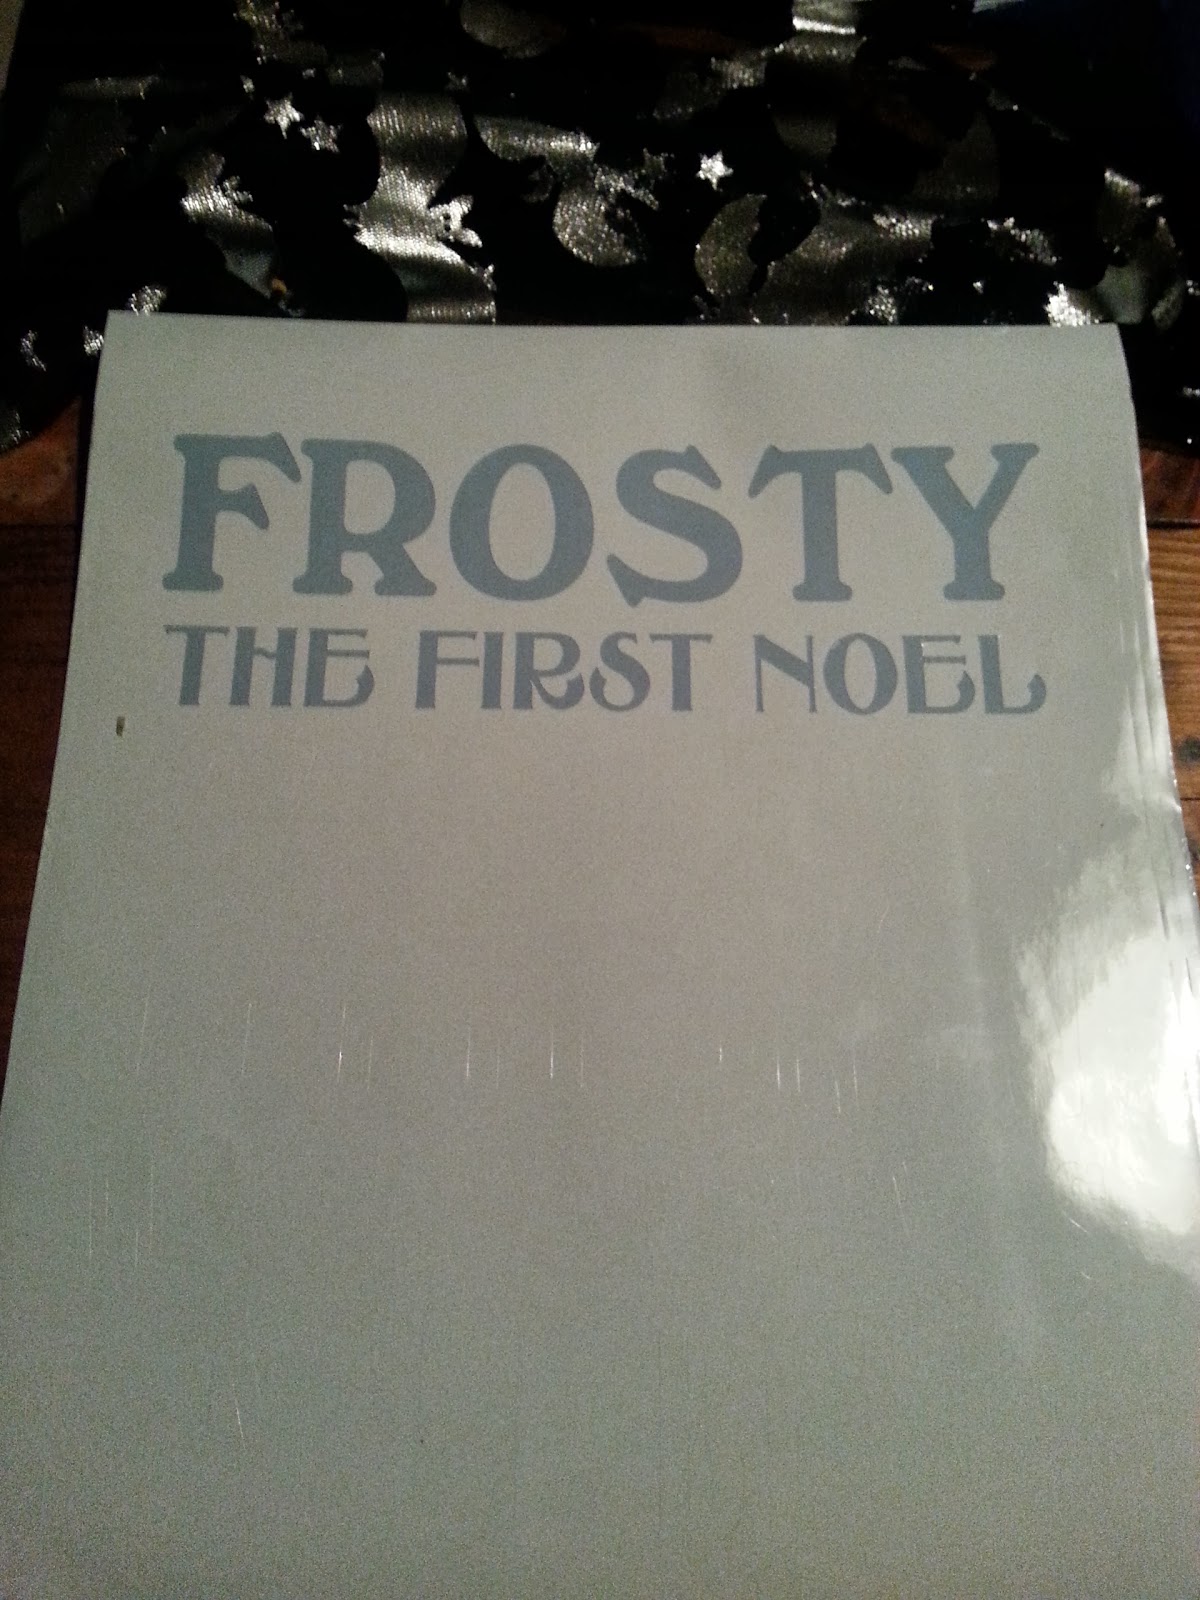
What you see here is the finished vinyl with the negative removed. Like I said before, I do not suggest doing that way. It was a pain in the rear end both taking them out and then again after I had painted over the stencil. 
Next I applied all by myself with my wonderful husband, the transfer tape and transferred the design onto the wood. I think the "Away in a Manger" is supposed to look like snow...it doesn't. You will see that I left this off in the next post. 
I took the wonderful paint that I got from Home Depot (the Behr paint) and covered the stencil using a sponge. You don't have to lay it on too thick because if you do (and then you let it dry too long) you may accidentally pull up your paint when you remove your stencil. Notice that I did not paint the bottom - I used judgement here and figured that this was not going to turn out well if I did paint it. Let this dry about 10 minutes or so before peeling off. If you notice it is drying very quickly, then use your own judgement about removal. Peel back slowly. 
I let it dry for about an hour before sanding over the entire thing. I sanded the painted letters to give it a better look to it. 
The final project! I really like how it turned out. I may use a little stain in some areas and a good wipe down in others where you may be able to see the white paint from sanding. Otherwise...looks old and rustic and I like it! 
Happy Subway art...ing! 


* I forgot to mention that this was supposed to be a 12x24 inch project. My silhouette machine ate the rest of the lettering. I'm really not sure what happened. The vinyl started twisting and turning and then it just all went to crud after that. I may have my husband cut this down or fill in the negative space with some cute vinyl decals! 

Hello STICKY

My Silhouette cutting mat has made me a little irritated today. The mat is a little too sticky for my taste and has completely destroyed my project. HOWEVER, although this is a minor set back - I did Google it and the number one response was to take a t-shirt and rub it over the mat to take off some of the stickiness. I still love you, silhouette...but I don't have to like you right now.

Tuesday, October 15, 2013

Sneak Peek

Okay...here is a little sneak peek of what I will be working on to show you tomorrow as well as my other project. I like to keep entirely too much going at one time.
Yes...I know that I accidentally tore off the 3 E in EEEK. 
Happy EE K ing!

Silhouette Cameo...my new love

So...I have found a new love and it is the Silhouette Cameo! It is absolutely, without a doubt...amazing. 
There's that beauty right there...eating some vinyl. Today I have started some subway art and will continue to post until the project is done. If I didn't have 5 little people, I'd live a life of luxury in the Bahamas I could get this done much faster...but somehow I ended up with them so I'm kind of stuck. ;) The first one I'm going to talk about is my Christmas project. 
I started out by going to home depot and buying a 24x24 inch board that cost me little to nothing. While I was there I went ahead and picked up some red Behr paint (sample size since that is more than enough) for a little over $2. That other thing is what we like to call a paint brush...and I already had that. 
I painted the board the red color, I didn't need primer because Behr is greatness and comes with it in there, and I sanded the edges to round it out a bit. You don't have to sand it..but I did because I like the edges better, plus I will stain them later to give it a more distressed look. After this I had my wonderful husband cut the board in half to make two 12x24 inch boards. No picture...sorry. 

Okay...this is obviously not the finished product. In the first picture there you see what is called Silhouette Studio...it kind of works like Photoshop, but for cutting out projects. Below that is the vinyl that I am currently working on. I'm taking out the negative and so you see the blue coloring underneath. That color will not be there. What I'm doing with this particular project is making it into a stencil so that I can lay it on top of my board and use another paint color to paint on top. There is an easier way to do this. So why didn't I do it the easier way? Because I painted my boards the wrong color. I will show you the easier way at a later date...or you can comment and I will go ahead and answer. 
This is not the same project, but I just wanted to show you this nifty little tool that helps to take out the unwanted vinyl. This is made by cricut. Silhouette also has one, but not one hobby store in my area sells it, which I find odd. Anyways, this is called a weeder - I believe...if not then it is just that tool that they use at the dentist office. 

Okay..that's it for this one. Tomorrow I will fix it all up and post the end result.
Happy waiting! 

Sunday, September 15, 2013

Peasant dresses for the Holidays

These are super easy dresses to make and you can complete one in about thirty minutes! I'm the kind of person who does not like something if it takes too long to make..because it will never get finished, but these I can make for my girls in the morning and they can wear them that day. Awesome. If you notice, I also used my handy embroidery machine to applique the cute pumpkin and Christmas tree on the bottom of the dresses. 

Happy Sewing!

Saturday, February 23, 2013

Who knew plates and bowls were more than just eating?


Here is another DIY share from one of our readers! Her little boy loves Mickey Mouse and so she decided to take canvases and use plates and bowls to make the shape she wanted. She then painted the shapes black and here you go! This is great work and too cute for words. Notice the blue stripes on either side of Mickey. She used plywood and wrapped it in the fabric she wanted - securing with a staple gun.

Don't forget to share your DIY ideas and pictures with me!


Sunday, February 10, 2013

Covering a Headboard

One of our readers was nice enough to share this with us! She said it was a super easy project - so if I get some requests for a step-by-step tutorial...then I will do one! Otherwise, just read and look at this and be content. ;) Staple guns, wood, and fabric are always a good combination. Thanks for sharing, Logan!


This fabric goes fantastic with the dark paint and the grey bedspread. Looks amazing!

If any of you would like to share some of your DIY projects...send them my way and you might get included in one of my rants! =)