


I'm not real big on the leaf...I think it looks odd. I added a combination here...you can add burlap for the stem, or use something else. Here is the how to:
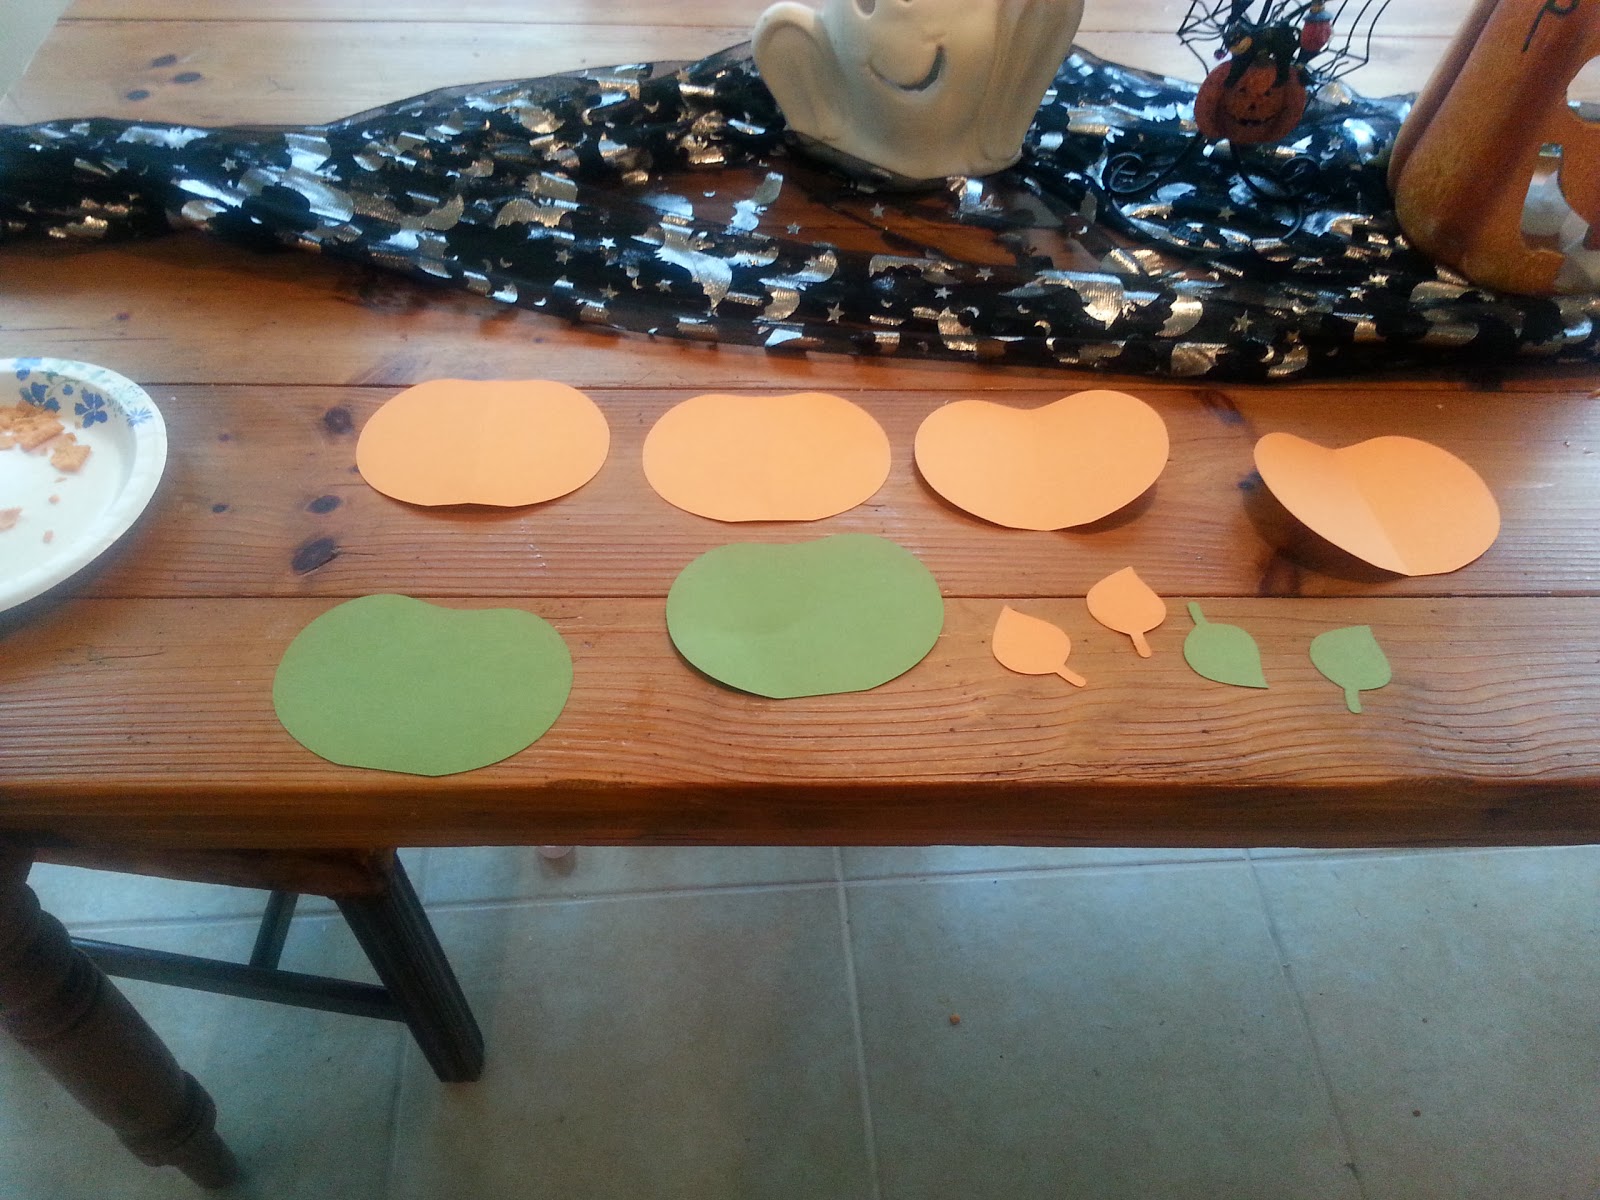
Take your silhouette, or find a shape of the size pumpkin you want and trace it and cut out 6 pumpkins. The cheez-its in the picture have nothing to do with the tutorial.


Glue them together at the sides. At this point it doesn't matter the color paper you use unless you plan on keeping it that color.


Glue your pattern pieces to the pumpkin - I used spray glue because it's amazing, but it is very VERY sticky.

Create a guard to spray adhesive on your pumpkin - again this stuff is STICKY (I have scrubbed my hands and still have glitter glued on them - I assume it will never come off - yeah...this stuff is that good). Next pour your glitter where you sprayed and finish all sides of the pumpkin. Do whatever your heart desires to make your little paper pumpkin extra amazing. You can find this pattern in the silhouette online store here. Have fun!
No comments:
Post a Comment